

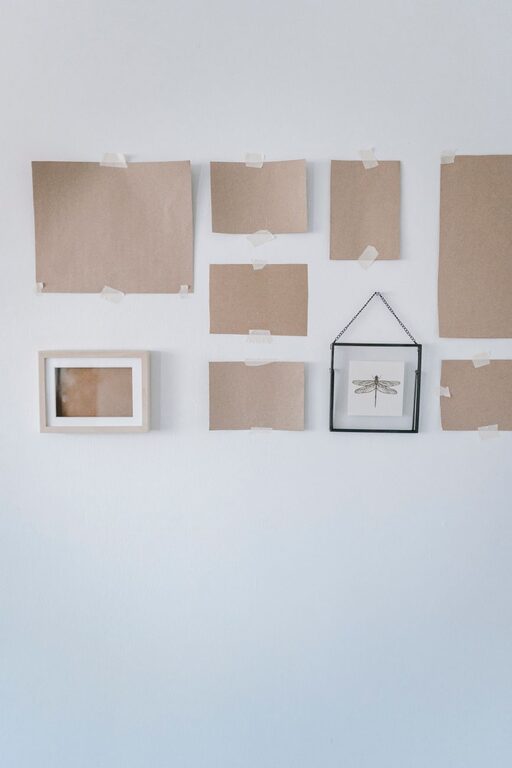
When it comes to home decor, walls often offer the biggest opportunity for creativity and personal expression. Instead of buying expensive artwork or decorations, why not try some easy DIY projects to enhance your walls? With a few simple materials and some creativity, you can transform any room into a welcoming and stylish space. In this post, we’ll explore several easy DIY ideas for wall decor that anyone can try.
Why Choose DIY Wall Decor?
DIY wall decor is a fantastic way to personalize your space without breaking the bank. It allows you to match your style perfectly and add unique touches that store-bought art often lacks. Plus, crafting your own wall pieces can be a relaxing and rewarding experience.
Materials You Might Need
Before diving into projects, it’s helpful to gather some basic supplies that can be used across various decor ideas:
– Canvas or wooden panels
– Paints (acrylic, watercolor, or spray paint)
– Brushes and sponges
– Stencils or stamps
– Washi tape
– String, yarn, or twine
– Scissors, glue, and tape
– Old magazines or decorative paper
– Hooks, nails, or adhesive strips for hanging
—
1. Abstract Painted Canvas Art
What You Need:
– Blank canvas or sturdy cardboard
– Acrylic paints in your favorite colors
– Paintbrushes or sponges
How to Make It:
- Choose two or three coordinating colors.
- Use broad brush strokes or sponges to apply paint in an abstract pattern.
- Layer colors and let parts overlap for texture.
- Allow the paint to dry fully before hanging.
This project is perfect for beginners and can be customized to fit any color scheme.
—
2. Washi Tape Wall Patterns
What You Need:
– Washi tape in different colors and patterns
– Measuring tape or ruler
– Scissors
How to Make It:
- Plan a geometric design, such as stripes, chevrons, or grids.
- Clean the wall surface to remove dust.
- Use the ruler to measure and mark where each tape strip will go.
- Carefully apply the washi tape, smoothing out any bubbles.
- Trim edges with scissors for a clean finish.
Washi tape is easy to remove, making this ideal for renters or those who like to change decor frequently.
—
3. DIY Photo Collage Wall
What You Need:
– Favorite photographs or prints
– String or twine
– Mini clothespins or clips
– Small nails or adhesive hooks
How to Make It:
- Attach two horizontal rows of nails or hooks on the wall.
- Tie the string between the hooks, creating a clothesline effect.
- Use clothespins to hang your photos along the string.
- Mix in small paper decorations or notes for extra flair.
This display is interactive and easily updated with new photos or memories.
—
4. Handmade Paper Flowers
What You Need:
– Colored craft paper
– Scissors
– Glue
– Optional: floral wire or tape
How to Make It:
- Cut petal shapes from the craft paper.
- Layer petals, gluing them together at the base.
- Shape petals by curling edges for a natural look.
- If desired, attach floral wire to make stems.
- Arrange flowers directly on the wall in clusters or patterns using double-sided tape.
Paper flowers add a whimsical, three-dimensional element without the upkeep of real plants.
—
5. String Art Designs
What You Need:
– Wooden board or sturdy cardboard
– Small nails or push pins
– Colored string or embroidery floss
– Hammer (if using nails)
How to Make It:
- Sketch your design lightly on the board—popular choices include hearts, stars, or initials.
- Hammer nails or insert pins around the outline.
- Tie one end of the string to a nail and weave it across, connecting nails in patterns.
- Continue until the area is filled as desired.
- Tie off the string and trim excess.
String art provides a modern and tactile piece of decor that’s both fun to make and display.
—
6. Upcycled Frame Gallery
What You Need:
– Old or thrifted picture frames
– Paint or decorative paper
– Photos, quotes, or fabric scraps
How to Make It:
- Paint or decorate the frames to match your room.
- Fill each frame with something meaningful: a favorite photo, inspirational quote, or patch of fabric.
- Arrange the frames on the wall in a balanced gallery layout.
- Secure them with appropriate hooks or nails.
This idea lets you showcase your personality and memories in a stylish, cohesive way.
—
Tips for Successful DIY Wall Decor
– Start simple: Choose projects that match your skill level to avoid frustration.
– Use quality adhesive: Make sure you use wall-safe hooks, nails, or tape to protect your walls.
– Plan your layout: Arrange items on the floor first to see how they work together.
– Consider lighting: Proper lighting will enhance your DIY art.
– Don’t rush: Give paint and glue enough time to dry for a clean finish.
—
Final Thoughts
DIY wall decor offers endless possibilities to refresh your living space without significant expense. Whether you prefer painting, crafting with paper, or arranging photos, these simple projects help you add warmth and character to your home. Plus, the satisfaction of creating something yourself is a wonderful bonus! Try one or more of these ideas and watch your walls come alive with your personal touch. Happy decorating!